Talented photographers create spectacular images where low light or limited amounts of light exist obstacles to achieving their vision. Demystifying the methods of shooting outdoors in low light opens a world of possibilities for creating inspiring photos when there is a little or no sunlight (or moonlight) is available.
Shooting on cloudy days, in the evening, and in areas where natural light is usually low, as in deep forest areas, canyons, and other low-light locations, or at night, offers unique creative opportunities. Here are some strategies for capturing stunning images outdoors in low light.
What are the Tools for Low Light Photography?
Exposure in any level of light must be managed in order to let the right amount of light hit the camera’s sensor, in order to record the photographic image as you want it to look. The three settings on a digital camera that together control exposure levels are shutter speed, aperture, and ISO. First, make adjustments to these three settings. Then, consider some of the other tools available for manipulating light to create extraordinary photographs in even very low light.
To accomplish a degree of exposure that will produce the image you want requires finding the right balance between the settings you choose for shutter speed, aperture, and ISO. Figuring out this three-way balance enables the art photographer to manipulate light however you wish, unrestricted by the limits indicated on the camera. Adjusting exposure in small increments, vs. by whole stops on settings, allows finer control.
Effectively managing exposure lets you determine the depth of field you want, the sharpness or the amount of blur you want to apply to moving subjects, the densities of shadows, and other effects. Even the very genre of the photographic artwork you elect to create is fundamentally shaped by the way you choose to manipulate light through the use of these settings, along with some tools and techniques that build on the creative foundation you establish with these essential in-camera exposure settings.
Use a Slower Shutter Speed
Your camera shutter speed manages the amount of time that the camera’s sensor will be exposed to light. Image sharpness is unintentionally affected at slow shutter speeds, resulting in a blur when the subject or the camera is in motion. At prolonged shutter speeds, even the smallest amount of movement can cause blurring.
Use a tripod and use a cable release, which allows you to release the shutter remotely. Or, use at least one or the other of those two tools when shooting using slow shutter speed in low-light environments. Use a tripod to avoid blur on moving objects. If you’re shooting without a tripod, try positioning your camera on a boulder, tree stump, or other solid surfaces for improved stability.
Because slower shutter speeds increase the amount of light that hits the camera’s sensor, using a plodding shutter speed for long exposure has been used to capture movement in ways that transfix movement in a photograph. Some of the world’s most compelling photos of natural subjects have been created by using shutter speed to affect motion blur on a grand scale. Such photographic artworks include mesmerizing creative effects in images of stars in the night sky, running water in rivers and streams, and motion of birds and other wildlife.
Set the Aperture to Let in More Light
Aperture settings determine how much light the lens will let enter. This also affects the depth of field that can be achieved, which is the amount of the image that will appear sharper or hazier or effectively relegated to the periphery or background. When shooting in outdoor environments in low light, and using a high ISO setting, use the widest possible aperture that is practical for the area you want to photograph.
Using a faster lens lets more light hit the camera sensor at wider apertures, which gives you an advantage in low light. Ultimately, select the aperture that makes the best sense for the scene you want to photograph, for the depth of field you have in mind, and for the shutter speed you need to use in order to create any particular artistic effects that your creative vision entails.
Focus on aperture and shutter speed as the priorities, and concentrate less on ISO as you’re adjusting the other two settings. Allow ISO to be determined to a large extent by your shutter speed and aperture settings.
Use a Higher ISO Setting
ISO speed determines the sensitivity level of the camera sensor to incoming light. ISO selection further permits more ideally combining shutter speed and aperture settings where available light would otherwise make such precision much more difficult, if not impossible. On the other hand, increasing ISO diminishes image quality.
Increasing the ISO necessitates decreasing aperture, to achieve equal exposure. It also increases noise. So, set ISO as low as possible, both to obtain appropriate exposure and to minimize noise. First, set shutter speed and aperture based on available light at the landscape you want to photograph. Then, set ISO commensurately with those settings. Use metering at any particular natural objects you want to use as subjects, as appropriate.
Using an ISO setting that is higher than desired may be unavoidable in order to reach the exposure level you want. Generally, the greater the exposure, the more grain your photo will contain. Further, it may be too difficult to work in the dark, or in extremely low light without having grain in the images. Use post-production software to fade, otherwise, minimize, or eliminate unwanted grain.
A creative solution is to consider ideas for incorporating the use of grain in images. Experiment by increasing ISO to extreme levels, to see what you can produce artistically using such cutting-edge ISO approaches.
Utilize Artificial Light Sources
From a full-scale professional light kit to iPads, to utility flashlights, artificial light sources can enhance the available light, and they can help compensate for a camera’s limited ISO capabilities. Supplementary lighting can also bring an entirely different dimension to a work of photographic art.
Outdoor low-light environments can present greater limitations to the benefits of supplementary artificial light. But, they can also offer opportunities for unique approaches to certain projects to create photo images of natural objects in low light.
Use Manual Focus
Using motion blur adds mystique and opens up possibilities for more abstract artworks. So, becoming proficient with manual focus, as one way of achieving blur, broadens your creative options. You can also use artificial light to set the focus in environments with low light. Then, turn off the artificial light and set the shutter speed, aperture, and ISO. This approach is useful when light is so low that the camera indicates that it is unable to find sufficient contrast between the surrounding environment and your desired subject.
Switch to a Smaller Lens
Larger, longer, heavier lenses increase the problem of camera shake. So, if you’re not using a tripod, switching to a shorter lens can help avoid unwanted motion blur resulting from camera shake. On the other hand, depending upon the kind of natural subject you want to photograph, lens choice can be paramount. So, if possible, use a tripod or find a surface on which you can set and stabilize the camera. Use a remote shutter release when the risk of camera shake is a concern, as it typically is when shooting in low light using slow shutter speeds.
Use Shadows Creatively
Use shadows to create an allusive mood. Go farther and create a silhouette as your subject. Keep in mind that shadows are prone to containing noise — Meter the light at your subject. When in doubt, risk overexposure, vs. underexposure.
If necessary, use post-production tools to reduce exposure later. Shoot in RAW, vs. creating .jpg files, to preserve detail for more control in editing. However, it’s preferable to get the exposure right while shooting. Learn to use chimping, so that you can manage noise as much as possible during production. This avoids the potential for increased noise by resorting to post-processing methods to raise light exposure levels artificially.
Incorporate Noise as an Artistic Concept
Noise can be applied for artistic effects. For example, it’s useful to create a mood when shooting scenery in an urban area or in a rural scene where natural elements are rugged and lend well to the use of noise to enhance an edgy image. Try using noise to create an effect, either by using a high ISO while shooting or bringing up noise levels with post-production tools.
Use Natural Back-lighting
Expand your range of artistic conceptions for your outdoor session in low light, to include some images with the last rays of the day’s natural sunlight streaming through tree branches or backlighting boulders, flowers, animals, people or other subjects. On the other hand backlighting applications, you can create images of profiles of subjects in the foreground, with the diffused sunlight becoming the prominent feature of the photograph.
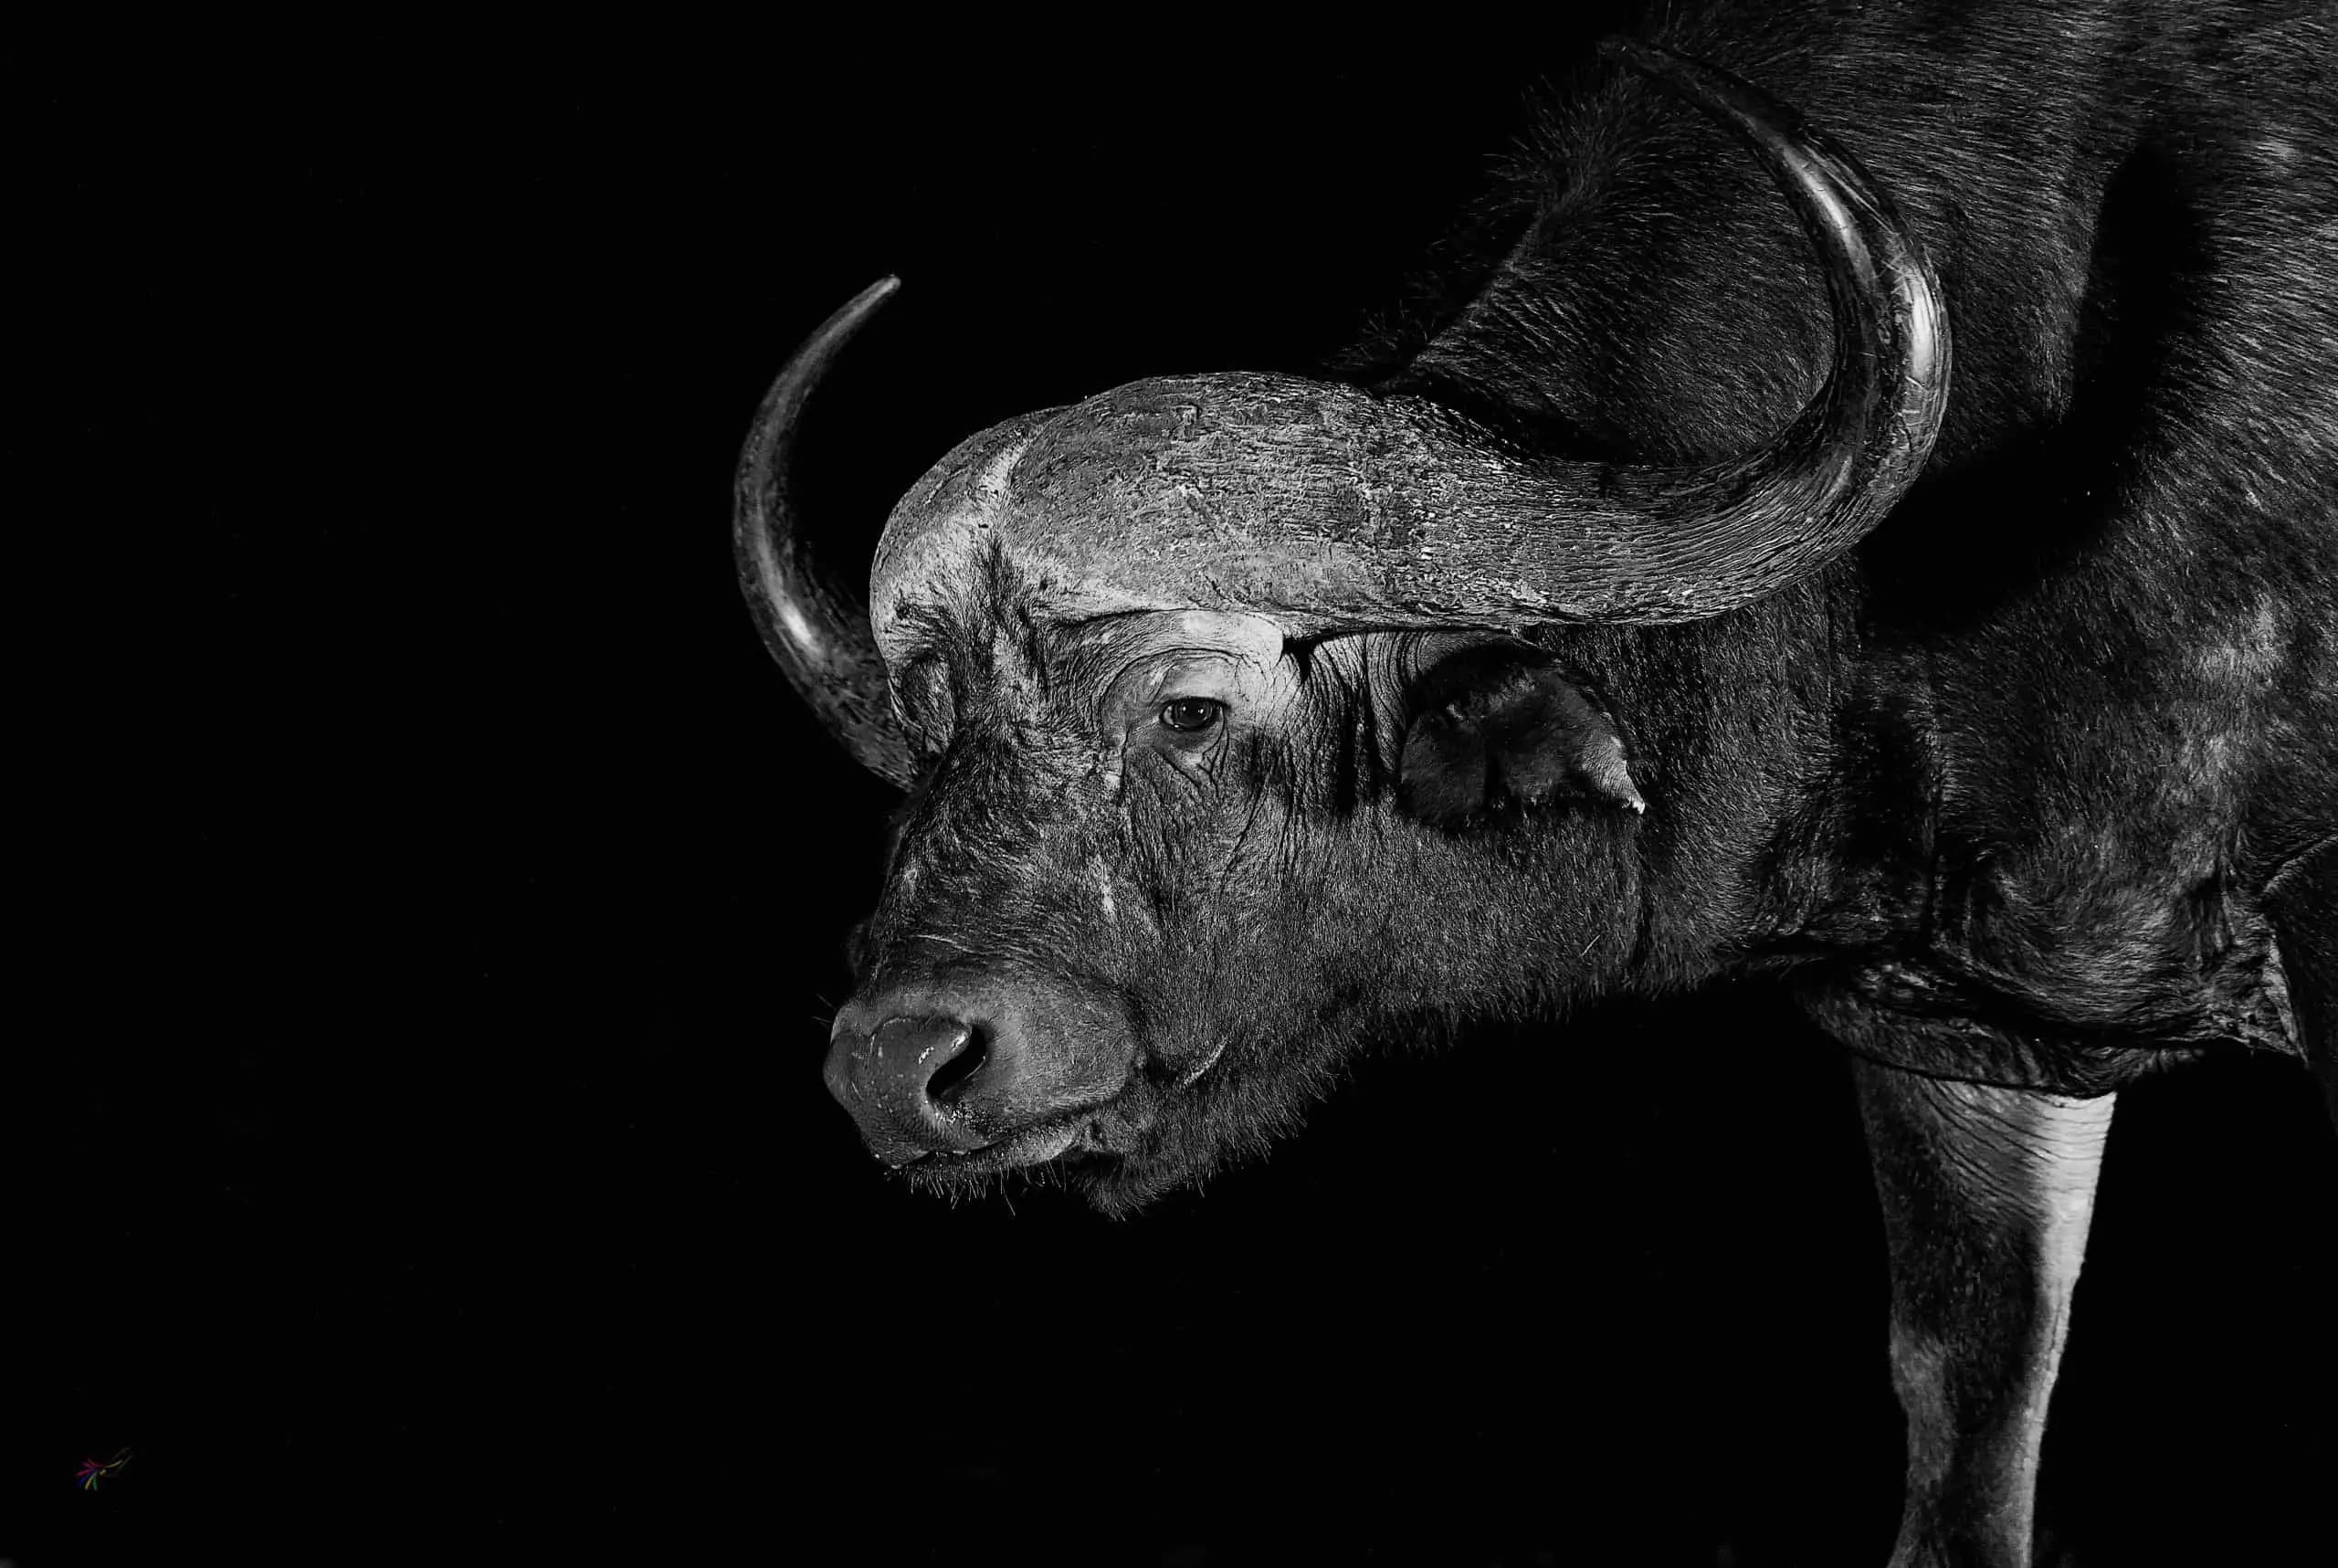
Try Black and White
Simplify contrasts and create moods with black and white images of natural scenes. Black and white can be especially dominant in forming dramatic images of stark scenes, such as clouded skies, jagged stone areas, blighted regions, and other profound visuals. Try using a variety of lenses, to create unique effects. Employ editing tools, to go farther in controlling tones and shaping details of images.
Creating Low-Light Photographs of Nature
Using the few primary camera settings, camera and post-production tools, and professional techniques discussed above, you can create superb photographic artworks. The essential requirements are practice to achieve mastery of these and other tools and practices employed by successful photographers, and the experimental curiosity to step outside the prescribed methods as necessary to pursue your creative vision.